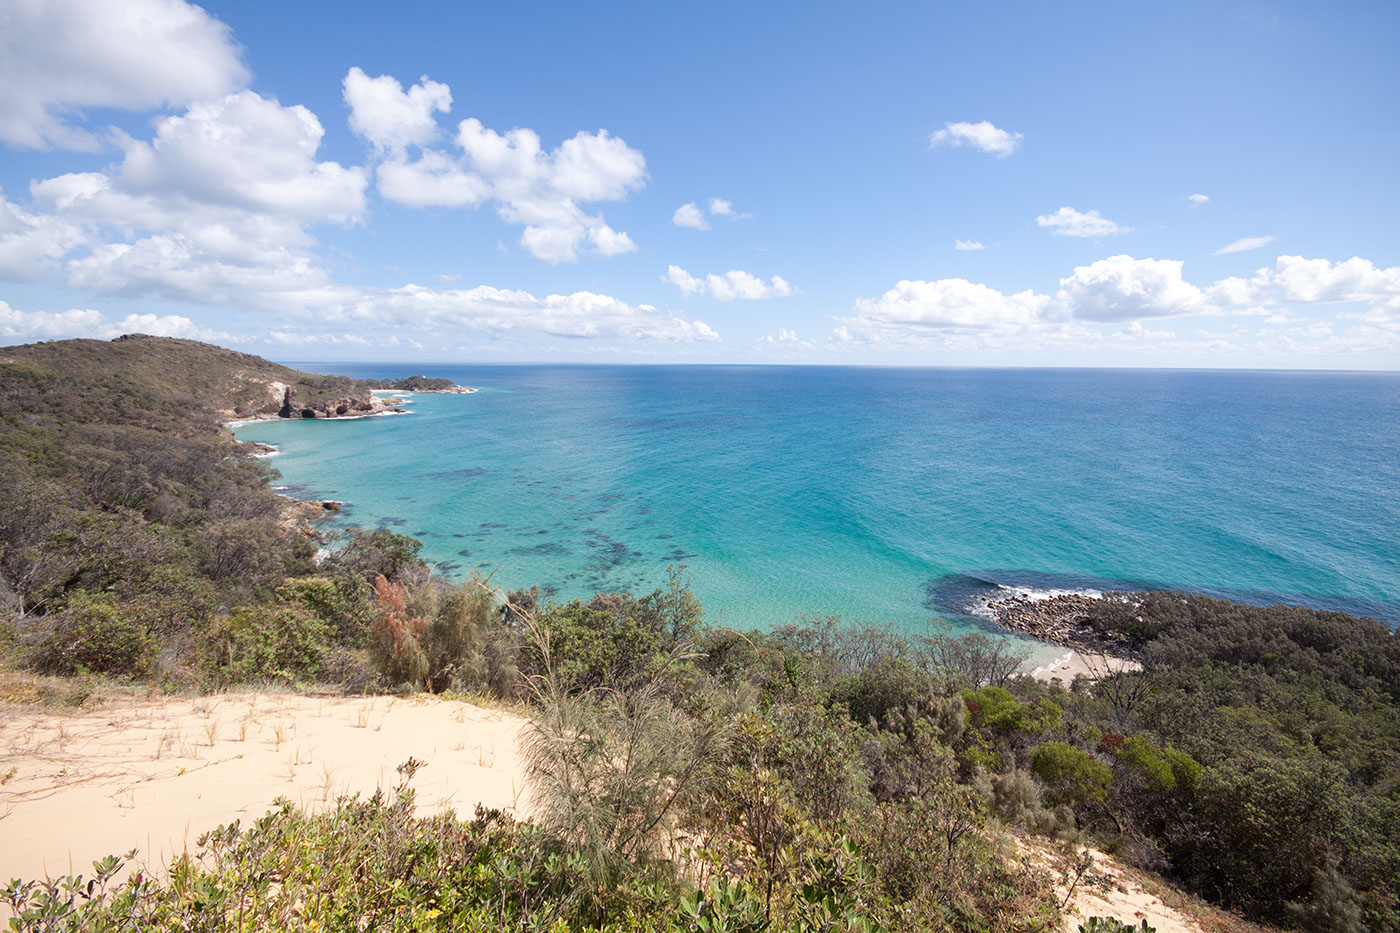
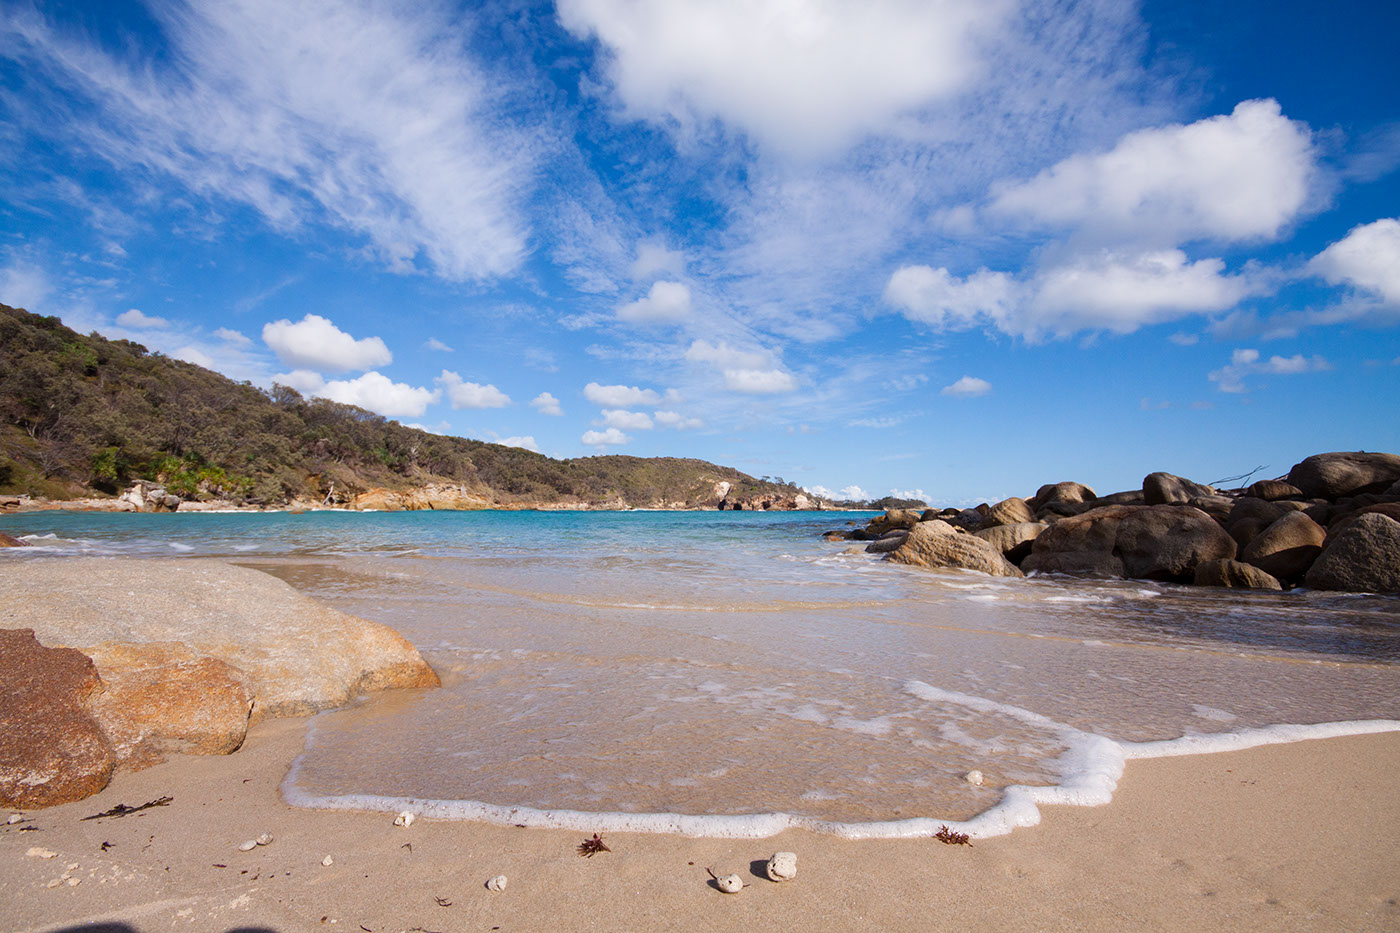
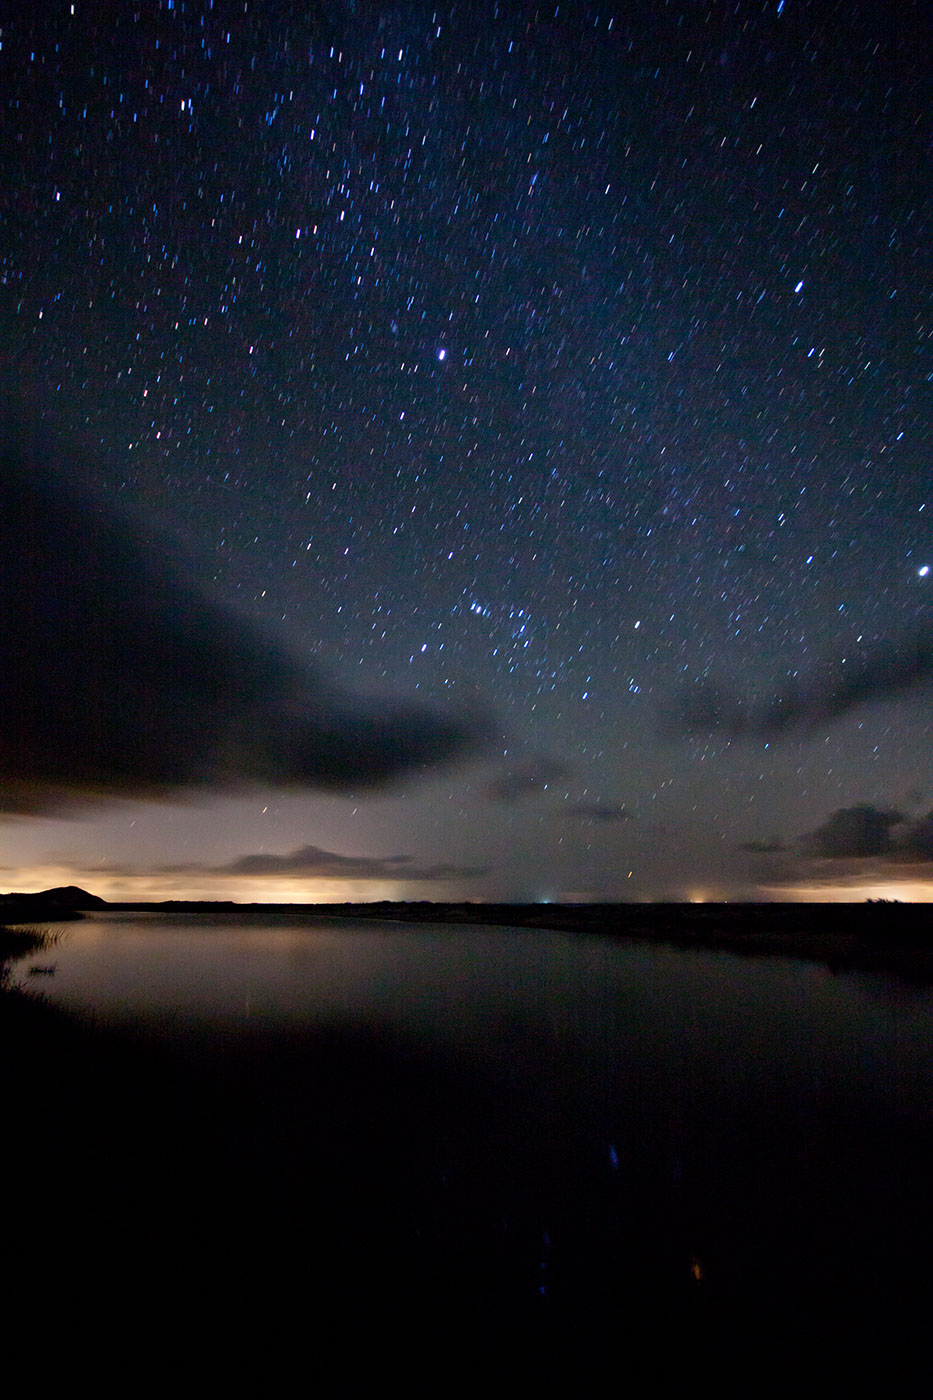
A few more images and some background information for anyone interested
(Click images for larger size)
Part 1 is here: http://scottwarnerphotography.com/2014/04/18/moreton-island/
Part 2 is here: http://scottwarnerphotography.com/2014/04/19/moreton-island-wildlife/
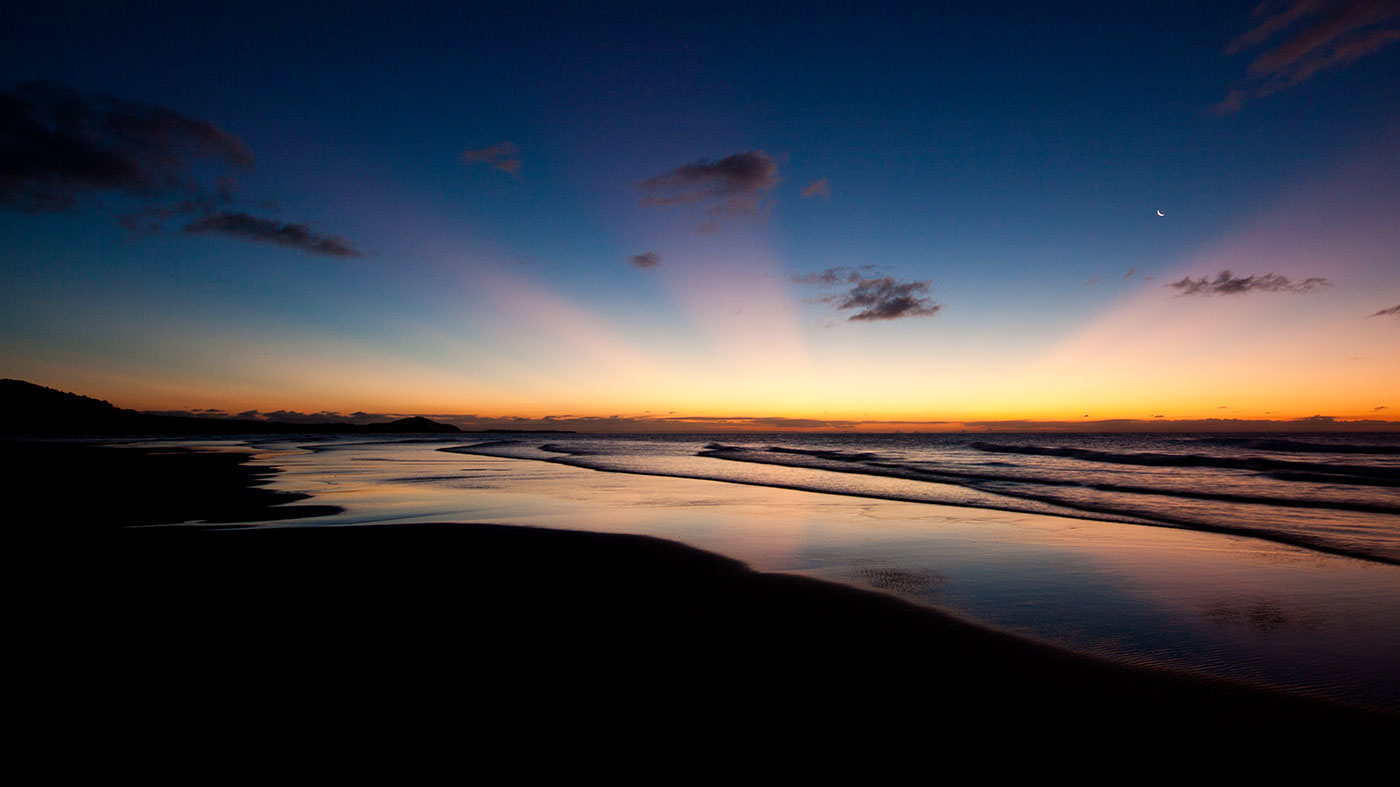
This recent series of photo were all taken on a 6 day solo trip to Moreton Island, just off the coast of Brisbane, Queensland. I based myself on the northern side of the island and was hoping to get some photos of birds and some good coastal scenery.
Moreton is a sand island and there are no formed road on the island only sandy 4WD tracks. I don’t have a 4WD so I needed a way of getting around. I read a couple of stories of people using mountain bikes and I thought that would be a good way to travel.
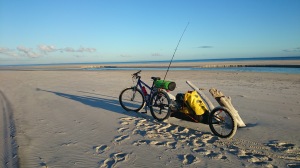
I did however need a solution to carrying my camping and camera gear so I decided to make a trailer – after a bit of research I decided on a single wheel design styled on the Bob Yak trailer. It took about a few weeks to get it built and tested but I was really happy with how it handled.

Getting there and back on the Micat ferry was pretty simple and it is only a short ride from Wynumn if you needed to catch public transport. The ferry takes about 90 mins and there was a small additional charge for the bike and trailer. Unfortunately the barge landed at high tide which is impossible to ride a loaded bike and trailer through the soft sand so I pulled up under a shady tree until the tide was low enough to ride. For more info on the ferry see www.micat.com.au
The camping facilities on the island were fantastic and well maintained. I chose to camp most of the time on the more remote beach sites instead of the campgrounds but they were great to have a place to fill up water and even have a (cold) shower. The beach campsite at Yellow Patch where I stayed for 3 of the 6 nights were surprisingly grassy and open. A lot has changed in the 10+ years since I was last there. Booking the campsites was easy on the National Parks site but I had issues when I needed to change my final night’s campsite over the phone. Bookings for all Queensland Parks be done at http://parks.nprsr.qld.gov.au/
On of the bits of gear I was really looking forward to using was a Goal Zero Guide 10 kit – It’s a solar charger which also charges AA batteries, has a USB and 12V outlets . I got a USB charger for my camera. I tried attaching it to my pack while walking and got a bit of charging done but when it was well placed it charged by camera batteries at a similar rate to the USB outlet from my computer but not as quickly as a 240V wall charger. It also allowed me to keep my phone fully charged which meant I could use it for GPS and mapping instead of just keeping it for emergency calls. I could also charge it from the AA batteries at night time but I couldn’t get enough charge to charge the camera batteries from the battery pack. It is very light and packable but I was careful to pack it on top as I wasn’t sure how tough the panels are. Overall I was really happy with it and look forward to using it on future trips. They have a wide range of charging solutions check them out at http://goalzero.com.au/
My Goal Zero charging setup
Stay tuned for a final installment from Moreton and then a few from a a trip to Girraween NP that I did the following week.
And a few more photos from around Cape Moreton before I wrap up this post. Enjoy…
